
Want to bake a birthday cake at home that looks like it came from a bakery? You absolutely can—with the right techniques and a few simple tools, your homemade cake can be just as polished and celebratory as a store-bought one.
In this article, you’ll learn how to make a professional-looking birthday cake at home, from baking to decorating, even if you’re a beginner.
Step 1: Choose the Right Recipe
Pick a cake that’s:
- Stable (not too crumbly or moist)
- Easy to frost and stack
- Crowd-pleasing (vanilla, chocolate, or funfetti are great choices)
Classic Vanilla Birthday Cake (Base Recipe):
- 2 ½ cups all-purpose flour
- 2 ½ tsp baking powder
- ½ tsp salt
- ¾ cup butter (room temp)
- 1 ½ cups sugar
- 4 eggs
- 1 tbsp vanilla extract
- 1 cup milk
Step 2: Bake in the Right Pans
- Use two 8-inch or 9-inch round pans for a traditional layered birthday cake.
- Grease and line with parchment for easy release.
- Bake at 350°F (175°C) for 30–35 minutes or until a toothpick comes out clean.
Step 3: Let It Cool (Fully!)
This is essential. A warm cake will melt your frosting. Cool cakes completely on a wire rack before decorating.
Step 4: Level the Layers
Use a serrated knife or cake leveler to even out the tops of your cakes. This helps the layers stack neatly and makes the cake look clean and professional.
Step 5: Choose a Frosting That’s Easy to Work With
Buttercream is best for home decorators—it’s easy to smooth and holds shape well.
Simple Vanilla Buttercream:
- 1 cup butter (softened)
- 3 cups powdered sugar
- 1 tsp vanilla
- 2–3 tbsp milk or cream
Beat until fluffy. Add food coloring if desired.
Step 6: Apply a Crumb Coat
This is a thin layer of frosting that traps crumbs and smooths the surface. Chill the cake for 15–30 minutes after applying.
Then apply the final layer of buttercream.
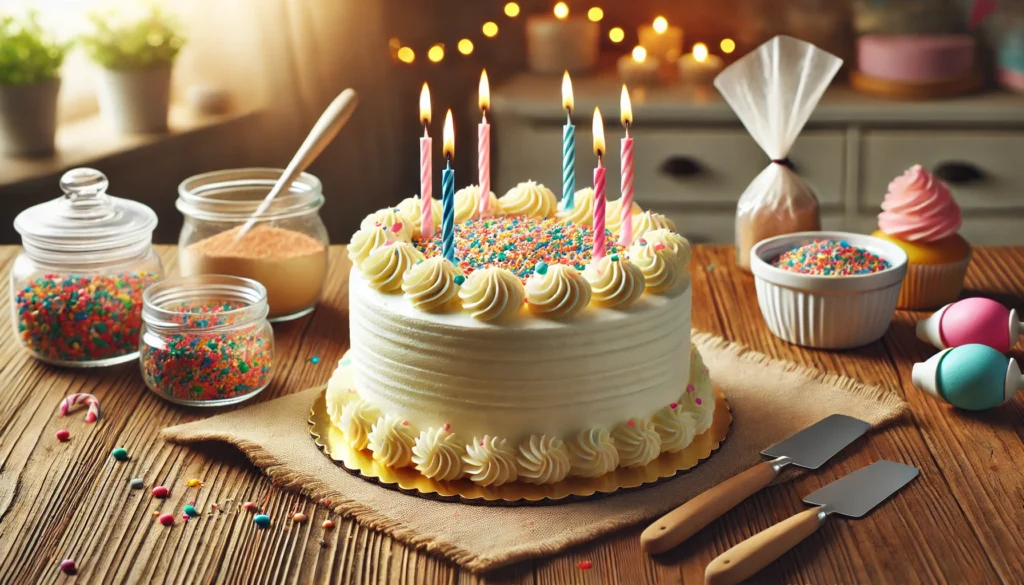
Step 7: Decorate Like a Pro
Even without fancy tools, you can get a great look!
- Smooth Finish – Use a spatula or bench scraper dipped in warm water.
- Sprinkles – Press gently onto sides and top.
- Fruit or Flowers – Add fresh berries or edible flowers for a natural, elegant look.
- Swirl Technique – Use a spoon or knife to create patterns in the frosting.
- Cake Topper or Candles – Keep it festive!
Pro Tips for a Professional Finish
- Chill the cake briefly between layers and before decorating
- Wipe your spatula often for smooth frosting
- Use a turntable or lazy Susan if available
- Don’t rush—take your time with layers and smoothing
- If using store-bought decorations, combine with your own touches
Fun Flavor & Color Variations
- Strawberry cake + pink buttercream
- Chocolate cake + peanut butter frosting
- Lemon cake + blueberry compote
- Rainbow or funfetti cake + whipped cream
- Vegan or gluten-free options available with same techniques
Storage Tips
- Store frosted cake at room temperature (cool room) for 1–2 days
- Refrigerate for up to 5 days
- Freeze layers (unfrosted) for up to 1 month
Celebrate in Style—From Your Own Kitchen
You don’t need a bakery to make a beautiful birthday cake. With the right steps, a little planning, and your personal creative touch, your homemade cake will look—and taste—like something truly special. So bake it with love, decorate with care, and get ready to impress.


