You’ve followed the recipe, your cake looks (and smells) amazing… but now comes the tricky part: getting it out of the pan without it falling apart. If you’ve ever broken a perfect cake while trying to remove it, you’re not alone.
In this article, you’ll learn exactly how to prepare your cake pan, the best time to remove the cake, and tips to prevent sticking or crumbling—so you never lose a beautiful bake again!
Why Cakes Stick (And Break)
Cakes tend to stick or break for a few reasons:
- The pan wasn’t greased properly
- The cake was removed too early (or too late)
- The batter stuck to the corners or center of the pan
- The pan surface wasn’t ideal for the cake type
Let’s solve all that—step by step.
Step 1: Choose the Right Pan
- Light-colored, nonstick pans are ideal—they distribute heat evenly and reduce overbaking at the edges
- Avoid old scratched pans (they tend to stick more)
- Glass pans are okay for some cakes but can overbake—metal pans are better for most
Step 2: How to Properly Grease and Line a Cake Pan
This is the foundation of easy release.
Option 1: Grease + Flour
- Grease the bottom and sides of the pan with butter or nonstick spray
- Add a spoonful of flour
- Tap and rotate the pan until it’s evenly coated, then shake out the excess
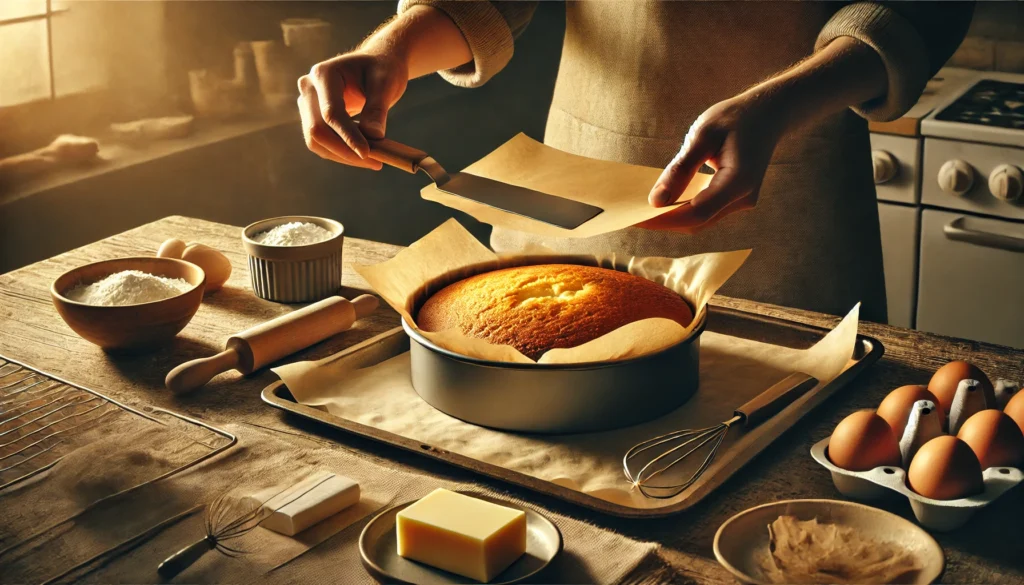
Option 2: Grease + Parchment Paper (Best Method)
- Grease the pan
- Cut parchment paper to fit the bottom (and sides, if desired)
- Place the paper, then grease it again for extra insurance
Tip: For chocolate cakes, dust the greased pan with cocoa powder instead of flour to avoid white residue.
Step 3: Let the Cake Cool Properly Before Removing
This step is crucial and often skipped:
- Let the cake cool in the pan for 10–15 minutes after baking
- This allows the structure to set and firm up slightly
- If you try to remove it immediately, it may fall apart
- If you wait too long (over 1 hour), it may stick as it cools and contracts
Step 4: Loosen the Edges Before Flipping
Use a thin knife or offset spatula to gently separate the edges of the cake from the pan:
- Run the knife around the sides
- If using a bundt pan, do this around the center tube as well
- Gently jiggle or tap the pan on the counter to loosen the bottom
Step 5: Invert the Cake
Place a cooling rack or flat plate over the pan and:
- Hold both together firmly
- Flip the pan upside down in one smooth motion
- Tap the bottom and sides of the pan if needed
- Slowly lift the pan off
If the cake sticks a little, let gravity work—don’t force it right away.
Troubleshooting Tips
Cake still stuck?
- Try wrapping a warm towel around the pan to soften the edges
- Let the pan rest upside down for 5 minutes before trying again
Bottom stuck?
- Slide a thin spatula underneath very gently
- If you used parchment paper, it should lift easily
Top cracked?
- No worries! Add a glaze, frosting, powdered sugar, or fruit to hide imperfections
Bonus Tip: Use a Springform Pan
For delicate cakes (like cheesecakes or very moist sponges), a springform pan lets you remove the cake without flipping—just release the latch and lift the ring away.
A Smooth Exit Every Time
Getting your cake out of the pan in one piece doesn’t require luck—just a few smart steps. With proper prep, timing, and gentle handling, you’ll say goodbye to broken cakes and hello to bakery-style presentation at home. Because when your cake looks as good as it tastes… that’s when the real magic happens.