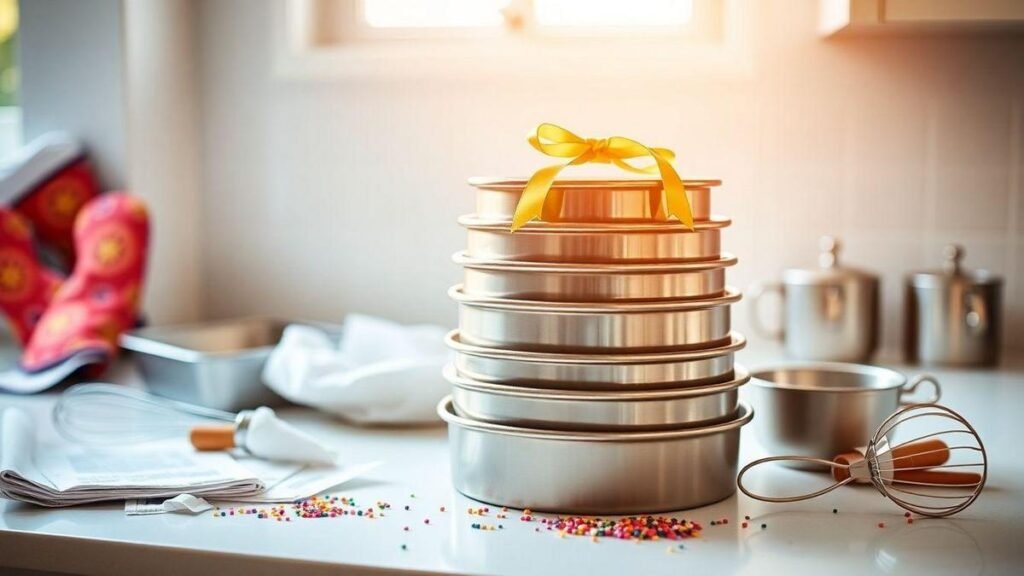
I survived buying my first cake pans and lived to tell the tale. The right pan really matters: it helps cakes bake evenly, release cleanly, and look like you meant it to. A round pan and a loaf pan cover a lot of recipes. Below I explain which materials to pick, why you should avoid dark pans at first, when a Bundt is fun, and why a cupcake tin is an easy win. I also include quick cleanup tips, where to buy trusted pans, and how to bake with more confidence and fewer disasters.
- Start with an 8-inch round and a loaf pan
- Use light-colored nonstick aluminum or stainless steel
- Avoid dark pans that brown cakes too fast
- Use paper liners for cupcakes and easy cleanup
- Stick to simple pan shapes before trying fancy molds
Why the Right Cake Pan Matters
A cake pan isn’t just a container — the right pan helps your cake bake evenly, release cleanly, and look like you planned it. The wrong pan can cause burned edges, a sunken middle, or a cake that clings like a needy ex.
| Problem with wrong pan | What happens | Quick fix |
|---|---|---|
| Dark, thin pan | Cakes brown too fast | Use lighter pans, lower temp |
| Wrong size | Batter overflows or is too thin | Match recipe size |
| No nonstick | Cake sticks and rips | Grease parchment or liners |
| Fancy shapes | Hard to release | Start simple; use release spray |
If you want a quick primer on the best pans for beginners, check this simple guide to starter cake pans.
1. 8‑Inch or 9‑Inch Round Cake Pan
These are the workhorses of home baking.
| Feature | 8-inch | 9-inch |
|---|---|---|
| Best for | Small layer cakes | Slightly larger cakes |
| Use | Birthday cakes, simple sponges | Standard recipes |
| Tip | Level batter for even rise | Cool 10 min before flipping |
- Material recommendation: Nonstick aluminum or stainless steel
- Why: Very versatile and beginner-friendly
2. Loaf Pan (8.5″ x 4.5″ or 9″ x 5″)
My go-to when I want bread that looks like a loaf and not a pancake.
| Best for | Size | Material tip |
|---|---|---|
| Banana bread, pound cakes | 8.5×4.5 or 9×5 | Nonstick metal with light color |
- Note: Use light-colored pans. Dark pans bake faster and can over-brown edges.
If you ever find yourself without a loaf pan, these creative options for baking without a dedicated pan might help: creative baking with everyday items or the guide to no-pan baking.
3. Square Pan (8″×8″ or 9″×9″)
If you love brownies, you need this pan.
| Use | Size | Perfect for |
|---|---|---|
| Tray cakes, brownies | 8×8 or 9×9 | Brownies, snack cakes, tray cakes |
- Tip: Great for cakes with toppings like streusel or fruit.
4. Bundt Pan (Optional for Beginners)
Bundts are pretty but tricky.
| Good or not? | When to use | Caution |
|---|---|---|
| Optional | When you want a pretty cake | Avoid complex patterns at first |
- Tip: Stick to simple patterns until you can unmold without drama. If you run into unmolding or browning issues, these common cake blunders and fixes can save the day.
5. Cupcake or Muffin Tin
Perfect for single servings and easy portioning.
| Best for | Cleanup tip | Kids? |
|---|---|---|
| Cupcakes, muffins | Use paper liners for easy cleanup | Great for kids and small batches |
- Highlight: Use liners for easy release and neat edges.
If you need a tiny-cake solution, try the small cake for two approach, which can also inspire portion-friendly baking in muffin tins.
Bonus: Springform Pan
Saved for when you want a cake to look like a boss.
| Best for | Skill level | Why add it |
|---|---|---|
| Cheesecakes, delicate cakes | Slightly advanced | Great release for fragile cakes |
- But: Use only after you feel comfortable with basic cakes.
What Material Should You Choose?
I tested pans that stuck, warped, and whispered betrayals in the oven. Here’s a quick guide to cake pan materials.
| Material | Pros | Cons | My pick |
|---|---|---|---|
| Aluminum (nonstick) | Heats evenly, light | Can scratch | Top pick |
| Stainless steel | Durable, resists warping | Slower heat | Good for long life |
| Dark coated metal | Faster browning | Can burn edges | Avoid at first |
| Glass | Shows browning, pretty | Heats slowly, heavy | Use for casseroles |
| Silicone | Flexible, fun | May not brown well | Use for muffins, weird shapes |
- Pro tip: Avoid very dark pans while you learn. They absorb heat and can brown cakes too fast.
For an overview of recommended pans and materials for newbies, see this beginner cake pan guide.
How Many Pans Do You Need to Start?
I started with two and survived.
| Start kit | What it covers | Why I recommend |
|---|---|---|
| Minimal (2 pans) | 8-inch round loaf pan | Covers 90% of beginner recipes |
| Beginner set (5 pans) | 8-inch, 9-inch, loaf, 8×8 square, muffin tin | More variety, small parties |
| Full starter | Above springform bundt | When you want to level up |
- Practical note: Two pans let you practice baking and frosting without clutter.
If you want a curated recommendation for beginner bakers, this starter pan roundup is a great reference.
Tips to Make the Most of Your Cake Pans
I burned, broke, and then learned. Here are the tips I wish someone told me before my first sad cake.
| Problem | Fix |
|---|---|
| Cake sticks | Grease, flour, or use parchment |
| Edges brown too fast | Lower temp by 25°F (15°C) and bake longer |
| Cake sinks | Don’t open the oven early; check baking powder |
| Uneven rise | Rotate pan halfway if your oven is hot on one side |
| Fancy pan stuck | Freeze 15–20 min, then invert gently |
- Always level batter and tap the pan to remove big air bubbles.
- Use an oven thermometer. Ovens lie.
For foolproof techniques and common mistakes to avoid, consult these foolproof oven tips and this practical list of how to fix cake blunders. If your cake sinks, this guide to fixing a sunken cake is especially useful.
Where to Buy Quality Cake Pans
I shop where I get good returns and no tiny cracks mid-bake.
| Place | What to expect | My tip |
|---|---|---|
| Big box stores | Midrange prices, decent sets | Look for name brands |
| Kitchen stores | Higher quality, staff help | Try before you buy if they demo |
| Online retailers | Wide selection, reviews | Read reviews and product details |
| Specialty brands | Long-lasting, pricier | Worth it if you bake a lot |
- Stick with brands that list safe materials and oven temps.
For buying recommendations and what to expect from starter pans, refer to the beginner pan guide.
Start with the Right Tools and Bake with Confidence
Start small and be kind to your oven. Buy an 8-inch round and a loaf pan. Learn how they behave. Practice makes better cake.
| First-step checklist | Done? |
|---|---|
| 8-inch round pan | [ ] |
| Loaf pan | [ ] |
| Oven thermometer | [ ] |
| Parchment paper | [ ] |
| Non-stick spray or butter | [ ] |
If I can bake without setting off smoke alarms, you can too. For more troubleshooting and confidence-building tips, see these oven and baking tips.
Leave a Comment
Your email address will not be published. Required fields are marked with .
- Comment
- Name
- Site
- Save my name, email, and website in this browser for the next time I comment.
Last Posts
| Post | Quick note |
|---|---|
| I Top Cakes with Fresh Fruit | My go-to for summer |
| I Saved My Sunken Cake | I fixed a disaster — more tips here |
| I Finally Made Glossy Chocolate Ganache | Shiny and smug |
| I Tried a Simple Cake Glaze | Fast and tasty |
Menu – Categories
| Menu | Categories |
|---|---|
| Home | Easy Cake Recipes |
| About | Easy Baking |
| Contact | Cake Tips |
Conclusion
I survived the Great Pan Purchase and learned the short version: start small, bake smart. Pick an 8‑inch round and a loaf pan first — they’re the workhorses that cover about 90% of recipes. Choose light‑colored nonstick aluminum or stainless steel, avoid dark pans until you know your oven’s moods, and keep parchment, paper liners, and an oven thermometer on standby.
Practice beats panic. Level the batter, tap out big air bubbles, lower the temp if edges are racing to brown, and don’t be shy about learning from mistakes. The second cake will almost certainly be less tragic.
Hungry for more baking tales and easy wins? Read more across the site.
Frequently Asked Questions
- What two pans should I buy first?
Start with an 8‑inch round and a loaf pan. They cover most beginner recipes.
- Which material is best for a first pan?
Pick nonstick aluminum or stainless steel. They bake evenly and release cakes well.
- Are dark pans a bad idea?
Yes. Dark pans bake faster and can brown cakes too much. Choose light‑colored pans.
- Should I try a Bundt or springform right away?
Bundt is optional — pick a simple pattern if you do. Save springform for cheesecakes or when you feel ready.
- How do I stop cakes from sticking or collapsing?
Grease and flour pans or use paper liners for cupcakes. Avoid fancy pans until you master the basics. If you need targeted fixes, see the cake blunders and fixes and the foolproof oven tips.
For alternative baking methods without a conventional oven or with limited ingredients, these guides are helpful:
- Baking without an oven: steamed cake method and stovetop steaming.
- No baking powder or no eggs/milk options: baking without baking powder and vegan egg- and dairy-free cakes.
- If your cake is dry: fixing dry cakes.
Recommended starter pans, troubleshooting guides, and other posts are all available in the site archives.

